It started one evening when I ran out of cotton pads to remove my make-up. Suddenly I thought how convenient and environment-friendly it would be if I had reusable cotton pads. Immediately, I thought of this tutorial, which I'd always liked the look of, and I resolved to make myself a little bunch at some point. At around the same time, I was getting ready for my holiday in France, and I started thinking about a present to bring to my friend in Paris.
And that's when it hit me: reusable pads - or scrubbies - would make a great gift. I could even embellish them a little bit, and... present them in a little bag made especially for them! From then on, I had a very clear vision of how I wanted the whole thing to look like. I feverishly picked up my crochet hook and off I went.
This was the first time I'd used the puff stitch. I really love the look of that stitch, and it's fun to make, too! The only thing is, it eats up a lot of yarn. Just nine pads were enough to finish a ball of Stylecraft Cotton Classique.
Aren't they lovely? Their puffiness kind of makes you want to bury your face in them. Well, it does me, anyway! ;)
Next up, I needed to choose a colourway to adorn the scrubbies and make the bag. This is what I got from my stash:
A vibrant, sunny palette to suit my friend's zesty tastes. I then proceeded to embellish each scrubby with one row of surface crochet on the edge, just to bring a bit of pop to them.
And then, it was time to make the bag itself. Unfortunately, I did not take any pictures while I was actually making the bag, as I did most of it at night time, but here is how I proceeded: I first made a simple circle of trebles in a cream cotton yarn for the base, as a kind of echo to the shape of the pads themselves.
The body of the bag was worked in striped rows of trebles, with no increase to achieve a cylindrical shape.

I then carried on with a few ruffled rows for a decorative opening of the bag.
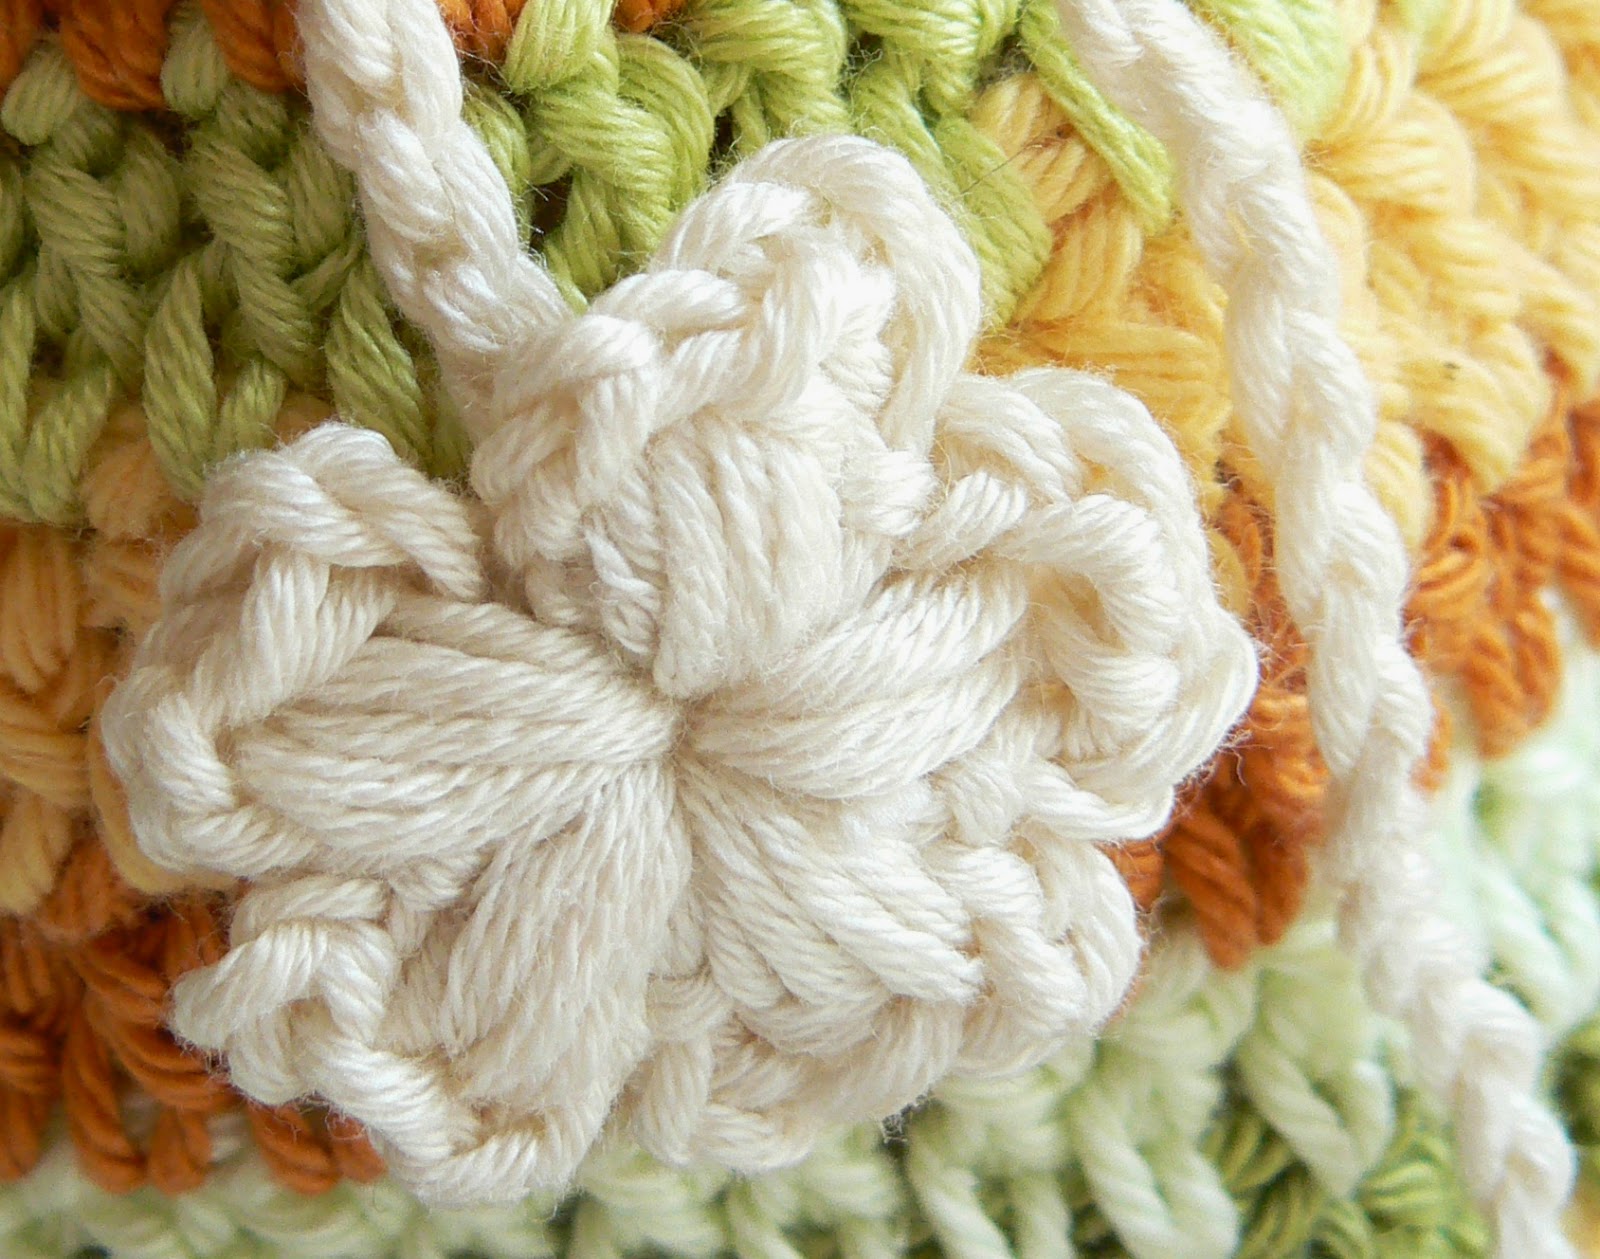
And finally, I adorned each end of the cream-colored chain with a puff-stitch flower, both for decorative purposes and to keep the string from slipping through and off the neck of the bag.
And that was it! Here's the suspect in full :)
I absolutely loved making this. In fact, I loved it so much that I've recently made another little something on a similar principle. As it is to be a surprise gift, I can't say anymore more on here, but I will definitely blog about it as soon as it's presented to its future owner!
In the meantime, what do you think? Would you make a gift like this one? I am thinking of writing a tutorial that I'd post on here. How would you like that?


This is a gorgeous gift! Useful + beautiful - a winner in my eyes! I'd love to make this to take on my travels, and to give to friends, too - yes please to a tutorial!
ReplyDelete