Hello lovely people! Today being Wednesday - meaning it's Granny Square Day over at
Jijihook's - I thought I'd show you my finished cushion cover, frantically put together one evening till well past midnight so that it would be ready in time for a friend's birthday. The pictures below were just as frantically taken the following morning before said cushion cover was wrapped up and presented to said birthday friend.
So here goes!
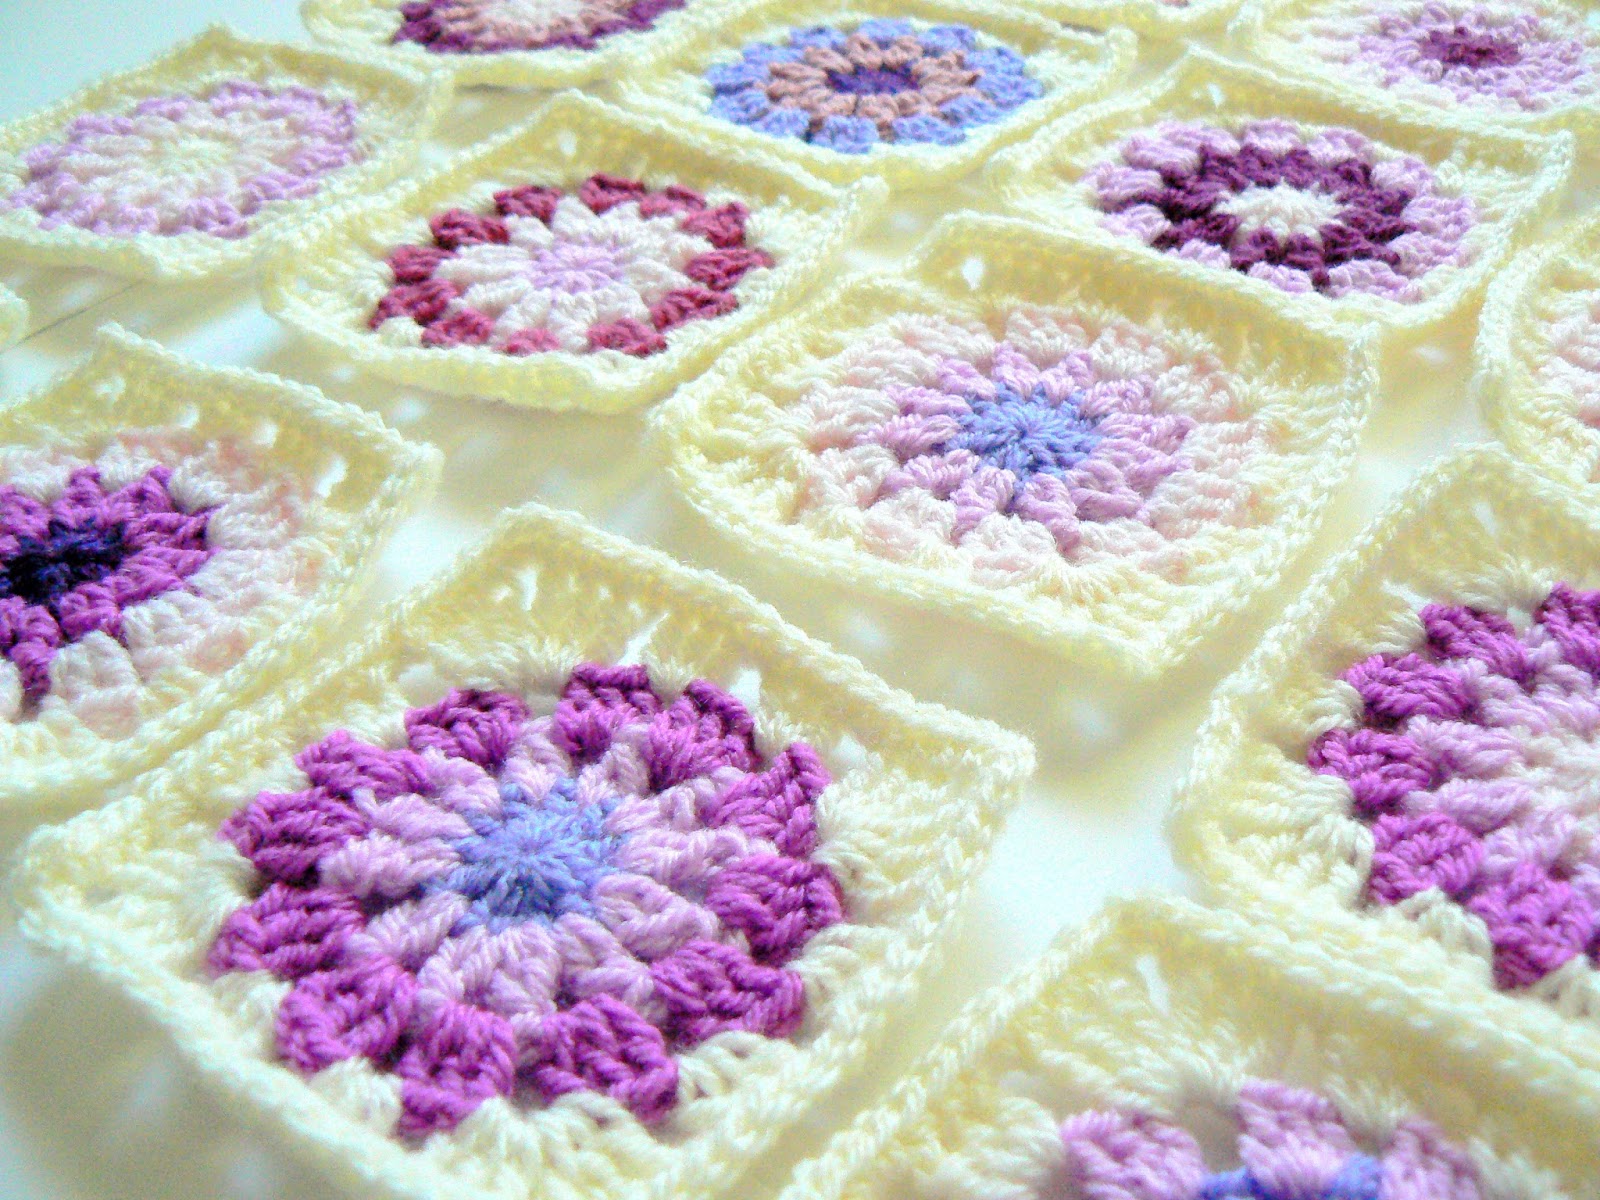
As you can see, the main side features sunburst granny squares, heavily inspired from my
Blanket sunbursts, except for the third round being simple treble clusters (UK term.) rather than tr3togs. As with my Blanket, they are
joined with decorative rows of dcs. More later about the edging.
On to the flip side:
So this is a classic granny square in the 8 colours of the main side, with two rounds per colour. Trying to avoid the
'skewed' effect that so often comes with bigger granny squares, I turned my work every other round, or every other two rounds, and it worked! My square remained more or less straight. This means unfortunately that some rounds are on the wrong side, but I think only an expert eye could notice this. What do you think?
Anyway, both panels were joined on three sides with a row of dcs, which was then topped with a row of 3-chain picots.
I have to say I am really pleased with the resulting look. For some reason, I always find picots a little daunting, but these ones let themselves be tamed rather nicely. I think they add a bit of a dainty look to the whole thing.
To finish, I hand-sewed a zip (botching it a little bit, I confess, as it was getting way too late), so that the cover can be taken off and washed if necessary. Fortunately, the 'botching' is only visible on the inside of the zip. Phew!
And that's it for this project. Since I decided I was doing it very much at the last minute, it was quite intense, I'm telling you. But it's amazing how deadlines can work wonders on your motivation. I'm pretty sure that, had I chosen to make the same cushion cover for myself, it would have taken months to complete... :D
Thanks for reading, everyone, and see you soon!