Hello! With another Wednesday comes the last of tutorials to make the Sunburst Granny Square Blanket. This one is to hook up an Edging, and comes directly in the wake of the Sunburst Granny Square tutorial and the Square Joining tutorial.
UK stitch terminology: chain (ch), slip stitch (sl st), treble (tr), standing treble (st tr), crab stitch (cr st)
Before you start, you will need your joined squares and yarn in as many colours as you wish. I personally used Stylecraft Special DK in Sherbet, Turquoise, Petrol and Emperor on a 4mm crochet hook.
1. Make a standing treble (here's a great tutorial) in one corner (chain 2 space) of your piece:
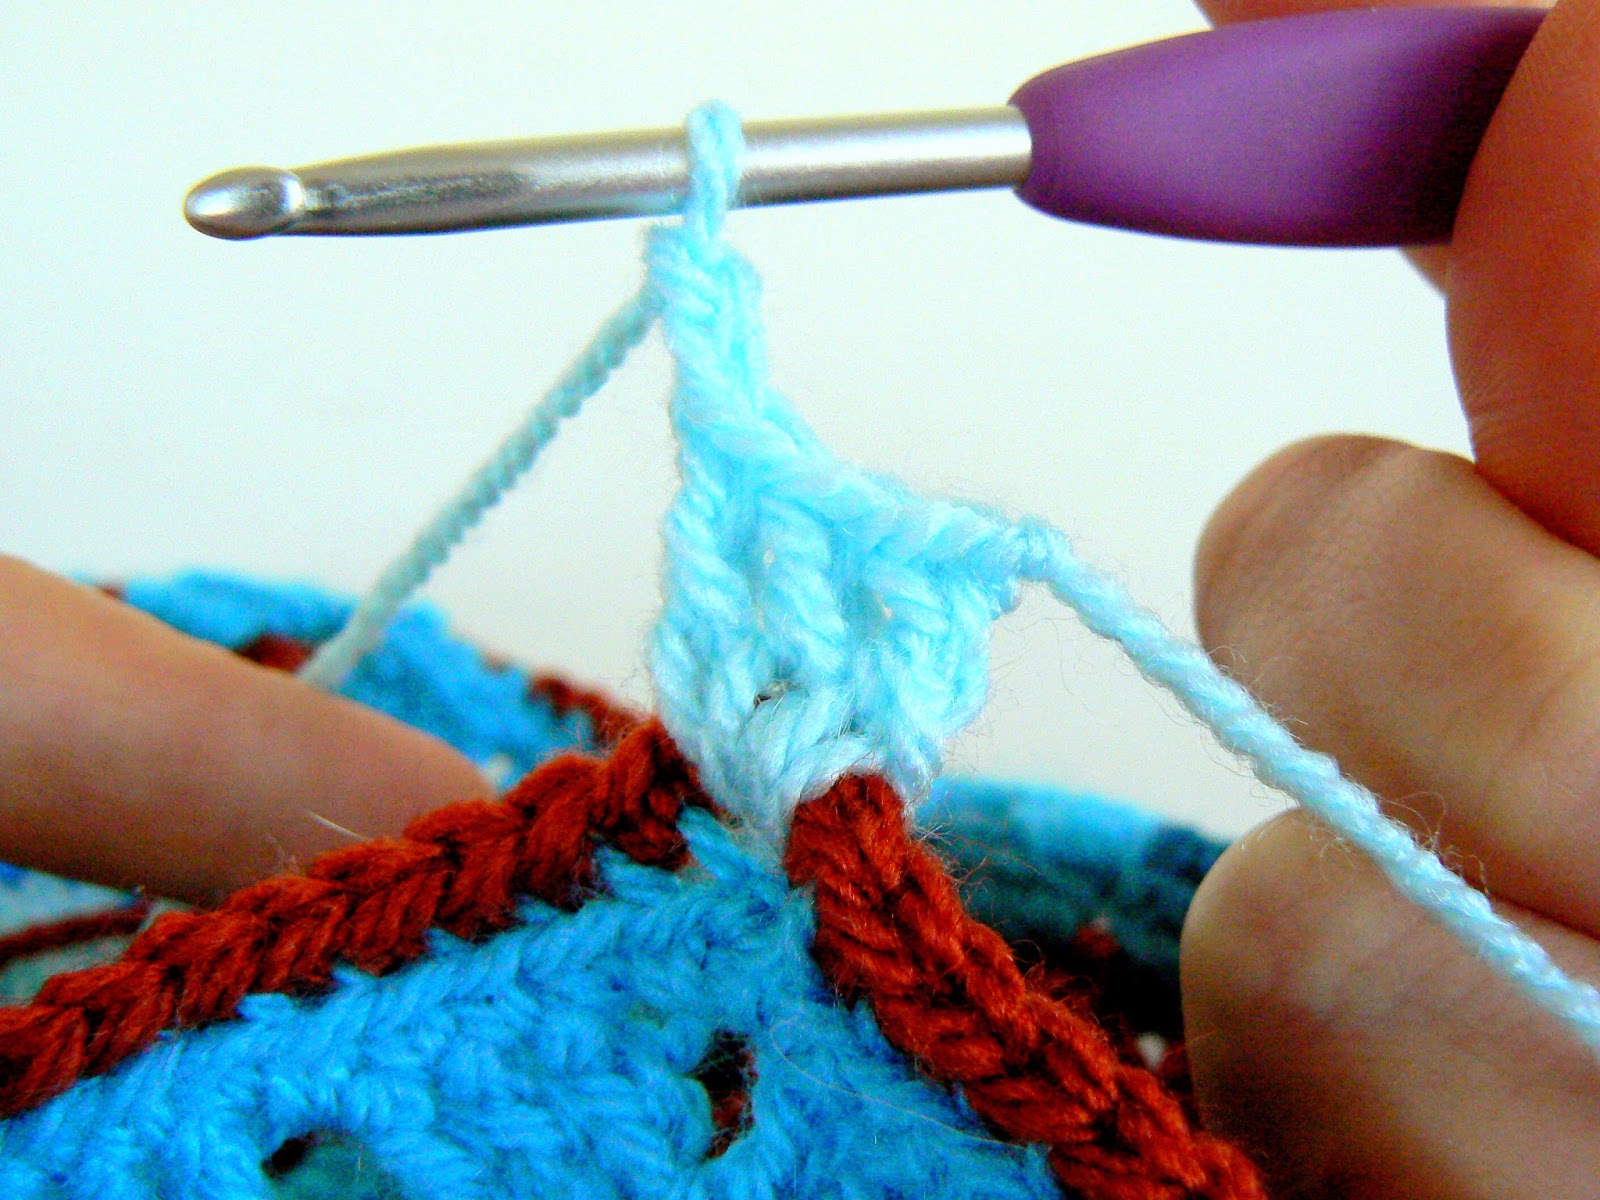
2. Make two trebles in the same space:
3. Chain 2:
4. Three tr in the same corner:
5. Ch 1:
6. 3 tr, ch1 in dc directly above gap between trebles from last row of granny square (in this case, 4 dc were skipped but it can vary from square to square):
7. *3 tr, ch1 in dc directly above gap between trebles from last row of granny square*, repeat * to * as many times as needed until you reach the first intersection (Oops, no photo here, sorry!).
8. Time to skip the joining! Skip 2 dc after the joining, 3 tr, ch1:
9. Repeat steps 7-8 as many times as there are squares until the next corner.
10. Time to turn a corner! Yarn over, insert hook into ch2-space of corner:
11. 3 tr, ch2, 3 tr, ch1 into the same space:
12. Repeat steps 6-9 twice until you reach your starting point:
13. Join with a slip stitch to first treble:
14. Fasten off. Round 1 of your edging is finished!
15. Change colours, repeat steps 1-5:
16. Make 3 tr into next ch1-space between trebles from previous row, ch1:
17. *Repeat step 16 until you reach next corner*, repeat steps 10-11 into ch2-space between trebles of previous round**. Repeat * to ** twice, repeat * to *.
18. Repeat step 13. Fasten off. Round 2 of your edging is done!
19. Change colours. Repeat steps 15-18, fasten off. Round 3 of your edging is done!

20. Repeat steps 15-18 as many times as needed or wished.
For the final round, change colours. You are going to make a round of crab stitch. That's basically the same steps as for a normal dc stitch, but going in the OPPOSITE direction (so from left to right if you are right-handed, and from right to left if you are left-handed).
21. Make a standing dc (there's an excellent tutorial here) in one ch2-space (corner) of your piece:
22. Insert hook in next stitch to the right (or left if you are left-handed):
23. Pull yarn through stitch, leaving you with two loops on the hook:
24. Yarn over and pull through both loops on your hook. You should end up with this strange-looking lump of a stitch. Don't worry, it will even itself out as you work the rest of the stitches.
25. Repeat steps 22-24 until you reach next corner:
26. Work 3 cr st into ch2-space of the previous round:
27. Repeat steps 25-26 twice, and step 25 once more, until you reach the first corner:
28. Make 2 cr st in ch2-space:
29. Join with a sl st to standing dc:
30. Fasten off, weave in ends, you are DONE!
Thank you for reading this tutorial. Please let me know if you find any mistake or anything unclear. Happy hooking and do send pictures of your work, I'd love to see what you've made!
And don't forget to go to Jijihook's to see what the others have done! :)


Magnifique !!
ReplyDeleteSuperbe !
ReplyDeleteamazing tutorial, thank you!
ReplyDeleteun beau pas a pas jolie couleurs de tes grannys bravo a bientôt
ReplyDeleteWow this is a very detailed tutorial, fantastic. Thank you for visiting my blog :)
ReplyDeletec'est superbe, j'adore le dernier rang !!!! <3
ReplyDeleteGreat tutorial! (LOVE all of the pictures!)
ReplyDeleteThanks for sharing at the Yarn Fanatic Party!
Great tutorial! (LOVE all of the pictures!)
ReplyDeleteThanks for sharing at the Yarn Fanatic Party!